By the fictional Ternwell studio team · 5-minute read
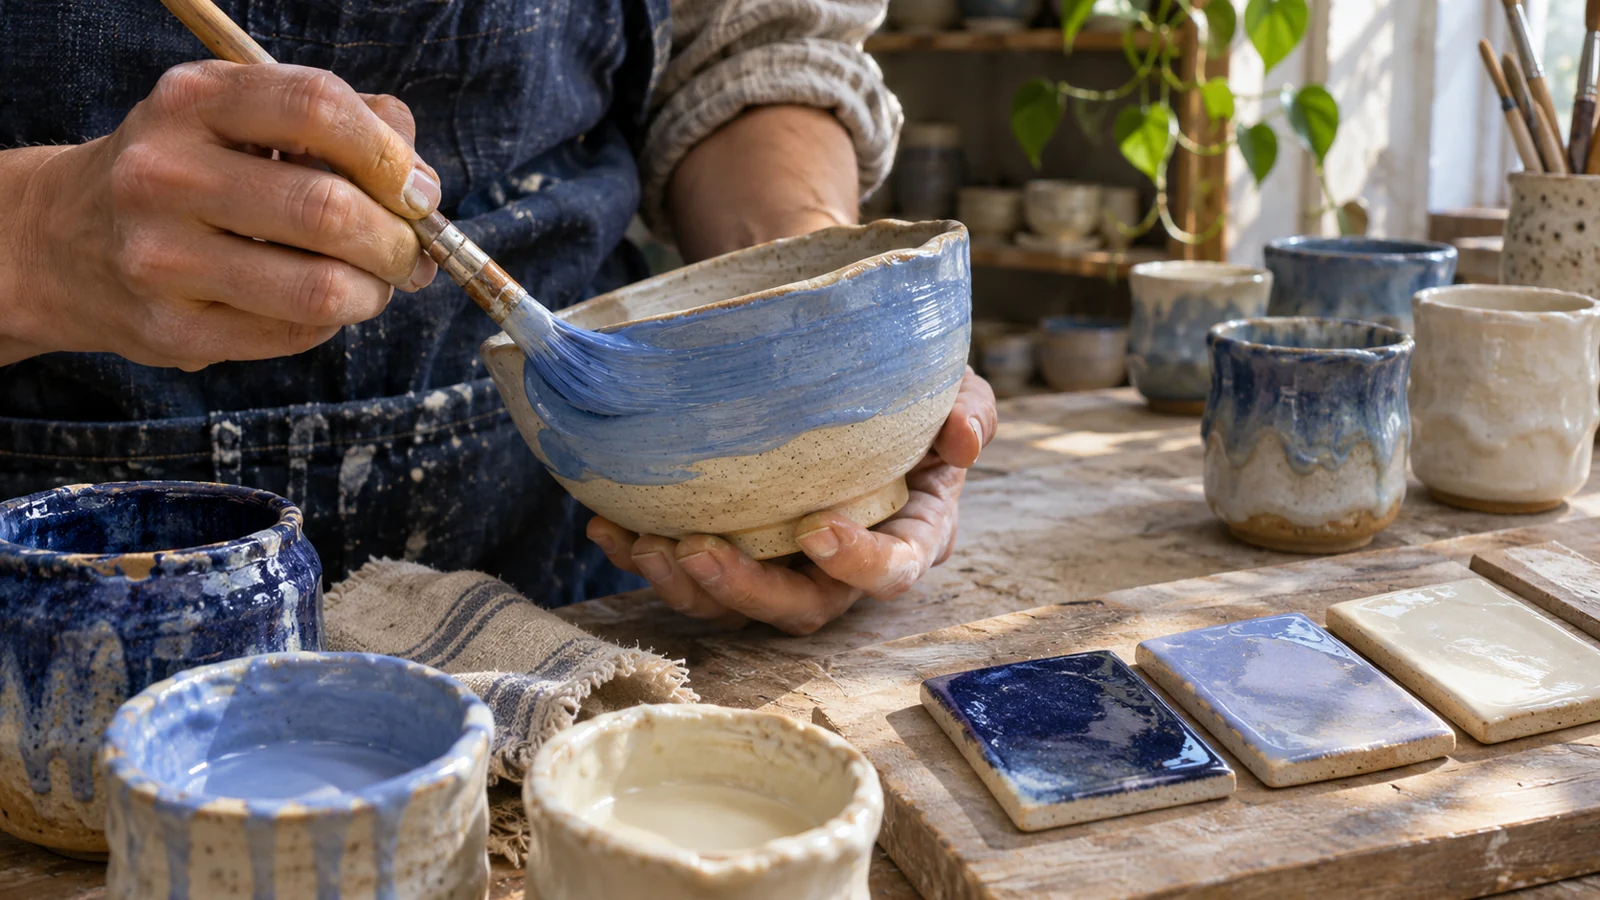
A glaze sample can look wonderfully simple: a little colour on a piece of clay. Look closer and there is more to see. The way the colour gathers in a groove. A pale edge. A soft overlap. A good test makes those details easier to compare.
Begin with something you can compare.
In the studio lab, we work with supplied test tiles and the same small palette of studio glazes. Keeping the starting materials consistent helps a new maker notice what changes. Your tutor explains which surfaces and materials can be used together in the studio.
Bring a colour idea, a feeling or a photograph of a texture you enjoy. You do not need a technical recipe. The useful question might simply be, “What would a quiet blue look like over a shallow line?”
Ask one question at a time.
If every part of a tile is different, it can be hard to know what caused the result. Try one brush direction, one overlap or one simple pattern. Leave part of the tile clear enough to see the clay body and the edge of the glaze.
Follow the tutor’s instructions for the supplied materials. Application and firing choices belong to the studio process; this note does not provide a kiln schedule or a glaze formulation.
Keep a note you will understand later.
A quick sketch can be more useful than a long description. Mark the glaze name used in class, where the overlap begins and what you hoped to learn. When your tile comes back, compare the result with the question rather than judging it as simply good or bad.
- What changed at the edge?
- Where did the surface show the brush?
- Would the effect suit a bowl, a mug or a decorative tile?
- What one thing would you test next?
A tile is a beginning.
A glaze can look different on a curved form, a different clay body or a deeper texture. A successful test is a useful clue, not a guarantee of an identical finished piece. Keep it with your notes and bring it to a conversation with your tutor.